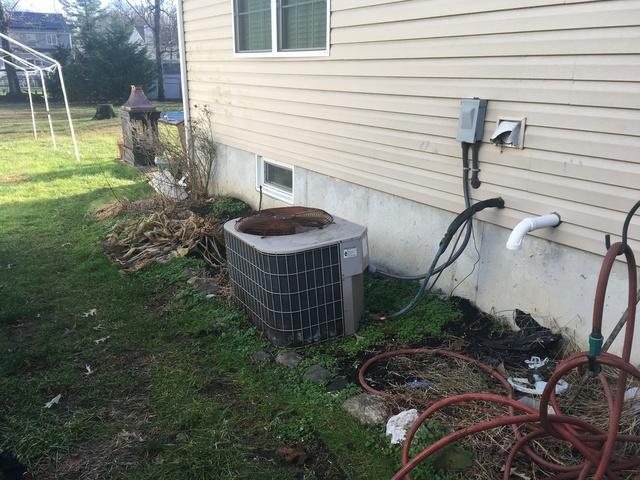
Air conditioning (AC) systems play a crucial role in maintaining comfort during hot weather. However, like any mechanical system, they require proper care and maintenance to perform at their best. One of the most important and often overlooked maintenance tasks for your AC is checking and replacing the air filter. A clogged or dirty filter can lead to a variety of issues, including poor air quality, reduced cooling efficiency, and even higher energy bills.
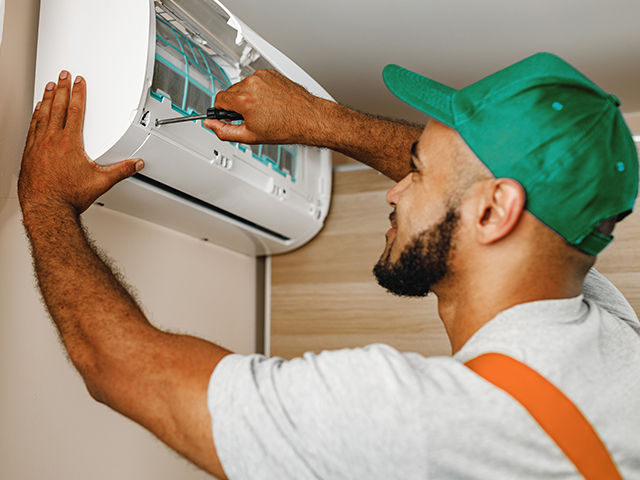
In this blog post, we’ll walk you through how to check and replace the air filter in your AC unit, helping you maintain the system’s performance, prolong its lifespan, and ensure your home stays cool and comfortable. If you’re not comfortable doing the maintenance yourself, you can always reach out to a professional like katong aircon servicing, who can assist you with cleaning and replacing air filters, ensuring your AC unit is running smoothly year-round.
Why is an Air Filter Important for Your AC?
Before diving into the process of checking and replacing the filter, it’s essential to understand why the air filter matters in your AC system. The primary role of the air filter is to trap dust, dirt, allergens, and other particles in the air before they can enter the cooling system. By preventing these contaminants from circulating through the AC, the filter helps maintain better air quality inside your home.
In addition to air filtration, the filter also contributes to the efficiency of the air conditioner. When the filter is clean and free of debris, air can flow freely through the system, allowing it to cool your home more efficiently. On the other hand, a clogged or dirty filter restricts airflow, forcing the system to work harder, leading to higher energy consumption and possibly causing damage to the unit over time.
When Should You Check and Replace the Air Filter?
The frequency at which you should check and replace the air filter depends on several factors, including the type of filter, the number of people and pets in your household, and how often the AC is used. However, as a general rule, it’s a good idea to check the filter every 30 days, especially during the peak cooling season. You should replace it every 90 days, or more often if it appears dirty or clogged.
If you notice any of the following signs, it may be time to check or replace your air filter:
- Reduced airflow or weak airflow from the vents
- The air conditioning system is running longer than usual or struggling to cool your home
- A noticeable increase in dust around the house
- A musty or unpleasant odor from the AC
- A dirty or visibly clogged filter
Step-by-Step Guide to Checking and Replacing the Air Filter in Your AC
Now that you understand the importance of the air filter, let’s go over the steps for checking and replacing it in your AC system.
1. Turn Off the Power
Before you begin any maintenance tasks on your AC system, safety is the top priority. Start by turning off the power to the air conditioning unit. This will prevent any accidental injury or damage while you’re working. You can turn off the power at the thermostat or, for extra safety, disconnect the power at the circuit breaker.
2. Locate the Air Filter
The next step is to find where the air filter is located. Most central air conditioning units have the filter near the return air duct or the blower compartment, which is typically near the air handler. You may need to remove a cover or grill to access the filter.
If you’re unsure where the filter is located, consult the user manual for your AC unit. Some units may have multiple filters, especially if you have a large or complex system.
3. Remove the Filter
Once you’ve located the air filter, carefully remove it from its slot. Be cautious, as the filter may be covered in dust and debris. If you’re using a disposable filter, it should slide out easily, but if the filter is reusable, you might need to unscrew or detach it from its housing.
Take note of how the filter is positioned before you remove it so that you can install the new one in the correct direction. Most filters will have arrows indicating the direction of airflow, which should point toward the blower and away from the air handler.
4. Inspect the Filter
After removing the filter, take a close look at its condition. If the filter looks clean, you can probably continue using it for a little while longer. However, if the filter appears clogged with dust and debris, it’s time for a replacement.
A quick way to check is to hold the filter up to a light source. If you can’t see light passing through it, the filter is too clogged and should be replaced. You might also notice a thick layer of dust or dirt on the surface, which is another sign that the filter needs to be replaced.
5. Clean or Replace the Filter
If you have a reusable filter, you can clean it rather than replacing it. Cleaning a reusable filter involves gently rinsing it with water (following the manufacturer’s instructions) or using a vacuum cleaner to remove the debris. Make sure the filter is completely dry before reinstalling it.
For disposable filters, you’ll need to replace it with a new one. Be sure to choose the right size and type of filter for your AC system. Air filters come in various sizes, and it’s crucial to select one that fits properly in your unit. You can check the old filter for size information, which is usually printed on the frame. If you’re unsure about the type of filter you need, consult the manufacturer’s recommendations.
6. Install the New Filter
Once you have a clean or new filter, it’s time to install it back into the AC unit. Make sure the filter is positioned correctly, with the arrows indicating the direction of airflow. Gently slide the filter back into its slot, ensuring it’s securely seated in place.
7. Turn the Power Back On
After replacing or cleaning the filter, it’s time to turn the power back on. Restore power to your AC unit at the thermostat or circuit breaker, and turn on the system. Check to make sure the air is flowing freely, and listen for any unusual sounds that might indicate an issue with the installation.
Tips for Maintaining Your AC Filter
- Check filters more frequently during high-use periods: If you live in an area with high humidity or if your AC runs frequently in the summer, you may need to check the filter more often, such as every 30 days.
- Use high-quality filters: Opt for filters with a higher MERV (Minimum Efficiency Reporting Value) rating for better filtration, especially if you have allergies or pets.
- Consider a smart thermostat: A smart thermostat can help you monitor the performance of your HVAC system, including tracking when it’s time to check the filter.
Conclusion
Checking and replacing the air filter in your AC unit is a simple yet essential task that can significantly improve your system’s efficiency, prolong its lifespan, and ensure your home remains cool and comfortable. By following the steps outlined above, you can keep your AC running smoothly and maintain a healthier indoor environment.
Remember to check your filter regularly, especially during the peak summer months, and replace it when it’s dirty or clogged. A little maintenance goes a long way in preventing costly repairs and ensuring your air conditioning system performs at its best all year round.
Advertisement

Advertisement

Sponsor